Friday, October 19, 2012

Asparagus Chicken Cheesy Bake!


Introducing our new and fabulous go to dinner item!  This one came from another mommy, and since she does not blog she was gracious enough to allow me to share!  She explained the basic idea to me, I just took it from there. 


I chopped up the chicken into bite sized pieces, and cooked them in the skillet over medium-high heat with some Italian seasoning, and some red pepper flakes for a lil' kick (not to much, a little goes a long way). 


While the chicken is cooking, I cooked the asparagus on a broiler pan, sprinkled some peanut oil atop, and then ground some sea salt and  baked those babies at 350 until ALMOST done.


I am a bit obsessive, and did this all in layers, however I have a feeling that it would work  quite well if you just threw it together.  I placed the asparagus on the bottom, then the penne noodles, then the chicken pieces.  I topped that with 1/2 a cup of peanut oil  baked it in the over at 350 for about 25 minuets, but depending on your oven you may need to adjust (mine sucks!).  


Once it was heated through, I took the bake out of the oven, and cranked that baby up to broil!  I sprinkled a layer of Mozzarella , then topped it with the Parmesan/Romano blend and threw it back in the oven just until it was done.


Didn't she come out beautifully!  The key is not overcooking the asparagus when you initially cook it.  Otherwise it could turn mushy, and no one wants that!  It was simple and easy and Delicious!
 
Bone Appetite!


Tuesday, October 16, 2012

Why I Vote

It's that time again.....election year.  Why is it that at the time when we should be rallying together, supporting our country we find ourselves at the greatest divide? Where are the ads that are bringing us together?  I feel more disdain to the ads running in this campaign than I can recall ever before.  Stop telling me what the other guy did wrong, isn't qualified for, or what you wouldn't have done and start telling me what you are going to do for me, my children and my country!  


Because she fought for my right to.


As a young woman, with young children I am focused about the "big picture" and trying to establish a bright future to my children, and eventually my grand children.  Independence from foreign power, the state of the currency, secondary education. 

The education that our children receive from the moment they enter elementary school is vital to who they will become.  Setting higher standers, and providing more continuing education classes to our teachers that prove beneficial.

 
For family equality.


As the primary bread winner for my family, equal rights for women in the work place is incredibly important to me. I am enormously lucky enough to have found a company that was envisioned by a woman, created in her kitchen, and built with women.  To this day, we only have 4 men in our company.  I have two daughters, that can be anything in the world when they grow up. They should be paid well for a job well done.

 
For his education.


That brings us to women's rights.  Oh yes, I'm going to bring this one up too.  This is an issue that is extremely sensitive issue.  If you feel comfortable with someone else's opinions being forced upon innocent people that are trying to take control of their lives than by all means vote for Governor Romney.  However, if you feel that each women has the right to control her own body than you may want to visit the NRARL Pro-choice America web site. 

 
For all her dreams to come true.


I am a parent, I am a woman, I am the main source of income for my family, and there are many issues that are incredibly important to me. I'm sure that I'm not the only person who finds these of interest.  I want to hear more about what you are going to do as president (or continue to hold office), that is going to affect these issues. 

I am far from an undecided voter, I know who has earned my vote for the next 4 years.  On November 6th I will make my opinion count.  No matter who you choose, just CHOOSE.  Make your opinion count!  Know your issues, chose your candidate based off their plans, and NOT the party they vote allegiance to. 

Saturday, October 13, 2012

Kickin' Cashew Chicken

wow Wow WOW! OK, so I have been on a kick lately of red pepper flakes. I love 'em! Usin' them whenever I can.  OK, so it's only been a week but I'm feeling adventurous, so cut me a little slack.  I enjoy the flavor they give, and I'm encouraging everyone to give them a little more thought that just, on top of cheese pizza.  That being said, red pepper flakes sprinkled atop a crispy thin crusted cheese pizza with a bit if Parmesan (shredded).......A-MA-ZING! 


So cashew chicken was on the menu!  It seems a bit daunting, but it is worth it.  Hell, if I can make it on a weeknight, while helping 5 kids do homework, I think you can fit this in.  As I sit down to write this post, days after enjoying it, I can still taste it.  The chicken is moist, and the flavor of the red pepper flakes in the sauce, it's just amazing.

Cashew Chicken
  • 1 pkg Chicken Tenders
  • 1 tbsp. cooking sherry
  • 2 tbsp. soy sauce
  • 1/2 cup oil (I use peanut oil)
  • 1/2 tsp. red pepper flakes
  • 3-4 green onions
  • 2 cloves garlic minced
  • 3/4 cup cashews
  • Toasted sesame seeds as a garnish
Sauce
  • 8 tbsp. soy sauce
  • 3 tbsp. cornstarch
  • 8 tsp. Sugar
  • 4 tsp. white vinegar


You'll want to start by cutting the chicken into pit sized pieces.  Combine 1 tbsp. soy sauce and the cooking sherry in a medium sized bowl, add that to the cut up chicken and set aside while you whip up the sauce.  In a small bowl whisk all sauce ingredients together, and set aside.   Slice up the green onions, mince the garlic, and measure out red pepper flakes. 


Drain the chicken, removing as much of the liquid as possible.  Now get out your wok, I love mine!  Heat the oil over high heat.  Add red pepper flakes to oil, and give it a couple of stirs.  Add the chicken all together, cooking until golden then turn.  Add the garlic, and continue to cook the chicken until it's golden on all sides.  Make sure to check that it's cooked through, because after this we're just simmering for flavor. Add cashews.  Move the wok away from the element, then add the sauce, it will thicken quite a bit.  Return the wok to the element for another 5 minuets or until thickened to desired consistency.  Sprinkle green onions atop, and garnish with toasted sesame seeds.  


I really like this meal, I usually serve this with white rice.  I hear no complaints about dinner from the kids. Whenever that happens, I count this a dinner success!  Enjoy!


Monday, October 8, 2012

DIY UofO GLAM Schedule

This is a total Pinterest inspiration project!  I saw this, and I cannot even recall who had done it because GASP! I didn't pin it! Heartbreaking! But it was a beautiful DIY game board for that family's favorite team. What genius!  We are a family originally from Eugene, so we are loyal Duck Fans!  YELL O!!!!!!


Aren't they wonderful?!  We watch then pretty religiously every Saturday. Recently,  I have realized that I prefer to watch college football over the professional league (I love the Bears). Alex's birthday this year was an Oregon Duck's Football Party.  We love our Ducks!  What better way to show our love for them, than to creat a GLAM Game board for the upcomming games!


I knew the basic idea so I was off to one of my favorite places....the goodwill.  I swear it's a treasure hunt, at least that's how my children refer to it.  Luckily I was able to score the perfectly shaped piece!  I removed the picture inside, and gave everything a good cleaning.  I love thrift shopping, but it usually requires a bit of elbow grease to get everything up to my standard.  Anytime that you are painting something you want to make sure that it's clear of all dust and dirt.


The frame started out with a lovely pattern so I didn't need to add anything.  I was prepared to be glaming up my frame, and you can do this easily yourself if your frame could use a lil' pick-me-up.  All you need to do is break out your glue gun, and start creating a pattern on the frame, then wait for it to dry and paint over.  It looks great! 


I used one of the left over jello containers and filled it with FolkArt metallic paint in gold, and added a couple globs of black to darken it up.


I brushed it on pretty liberally, then using a paper towel dabbed the excess paint off, and worked my way around the frame.  Note:  The Glass has been removed and was set aside.


Chalkboard paint is very easy to make, for this I used 1/2 cup of paint to 1 tablespoon of unsanded tile grout. 


 I used a foam brush and applied the paint directly onto the glass.  I allowed both pieces to dry overnight before reassembling our new chalkboard.


Viola!  The ultimate glam game schedule!  My son appreciates being able to see what games are coming up, and I appreciate it matching the rest of the decor.  In all, I think the total cost on this project was around $10. 
 

What do you think?

Wednesday, October 3, 2012

Living Room Love

The seasons, they be a changin'!  Leaves are turning gold and beginning to fall, my drive to work in the morning is getting a little darker, and the days are over sooner.  I am finding myself stuck in more often than not, and I am less than thrilled about how I feel in my living room.  I want to be enveloped in warmth in my living room, I want to feel comfortable and cozy, mostly I want to feel relaxed. 

Over the weekend I decided that our home, specifically our living room needed a face lift.  It was about a year ago when this process first began.  We moved to Portland, and into a 1970's split level, that hadn't been updated since the 80's!  We love the layout, and vibe of the house, we love the location, we love everything!  We were less than thrilled with the amount of work that we were going to do to bring it up to date. 


I have BIG plans for my entryway!  Unfortunately this weekend I couldn't spend that much time and money on making it spiffy, however  that will be changing soon.  If you have been following my pinterest account, then you know how much I have been browsing for inspiration.  I couldn't leave it unwanted and neglected, so decided to show a little love where I could.  I snagged this super cute, and welcoming decal at Michaels on clearance for less than $5! 


Split level homes are extremely prevalent in this area, and all that I have seen have beautiful wooden railings, it was important to me that we leave that railing as exposed as possible.  So many times we forget to enjoy and cherish the pieces in our homes that are most beautiful!  I don't want the railing to become a fixture, I want it to make a statement when you enter our home!  This couch is the best purchase that we have made since moving in!  (Well....maybe)  It's from Ashley's, we purchased it on sale for only $600 and this is a very large substantial piece of furniture!  The coffee table will be replaced soon, sadly it has been harder to find the right one then anticipated.


My newest piece is the TV stand.  We have a wonderful gallery furniture shop that happened to be having a sale a couple of weeks ago.  Pay attention to those sales!  I find that the furniture shops around me tend to have sales, with drastic price cuts about every 6 months.  Believe me, I have never had any luck with the "Columbus Day Sale" or the "Memorial Day Blow-Out", and I tend to steer clear of retailers who use those holidays for sales. 


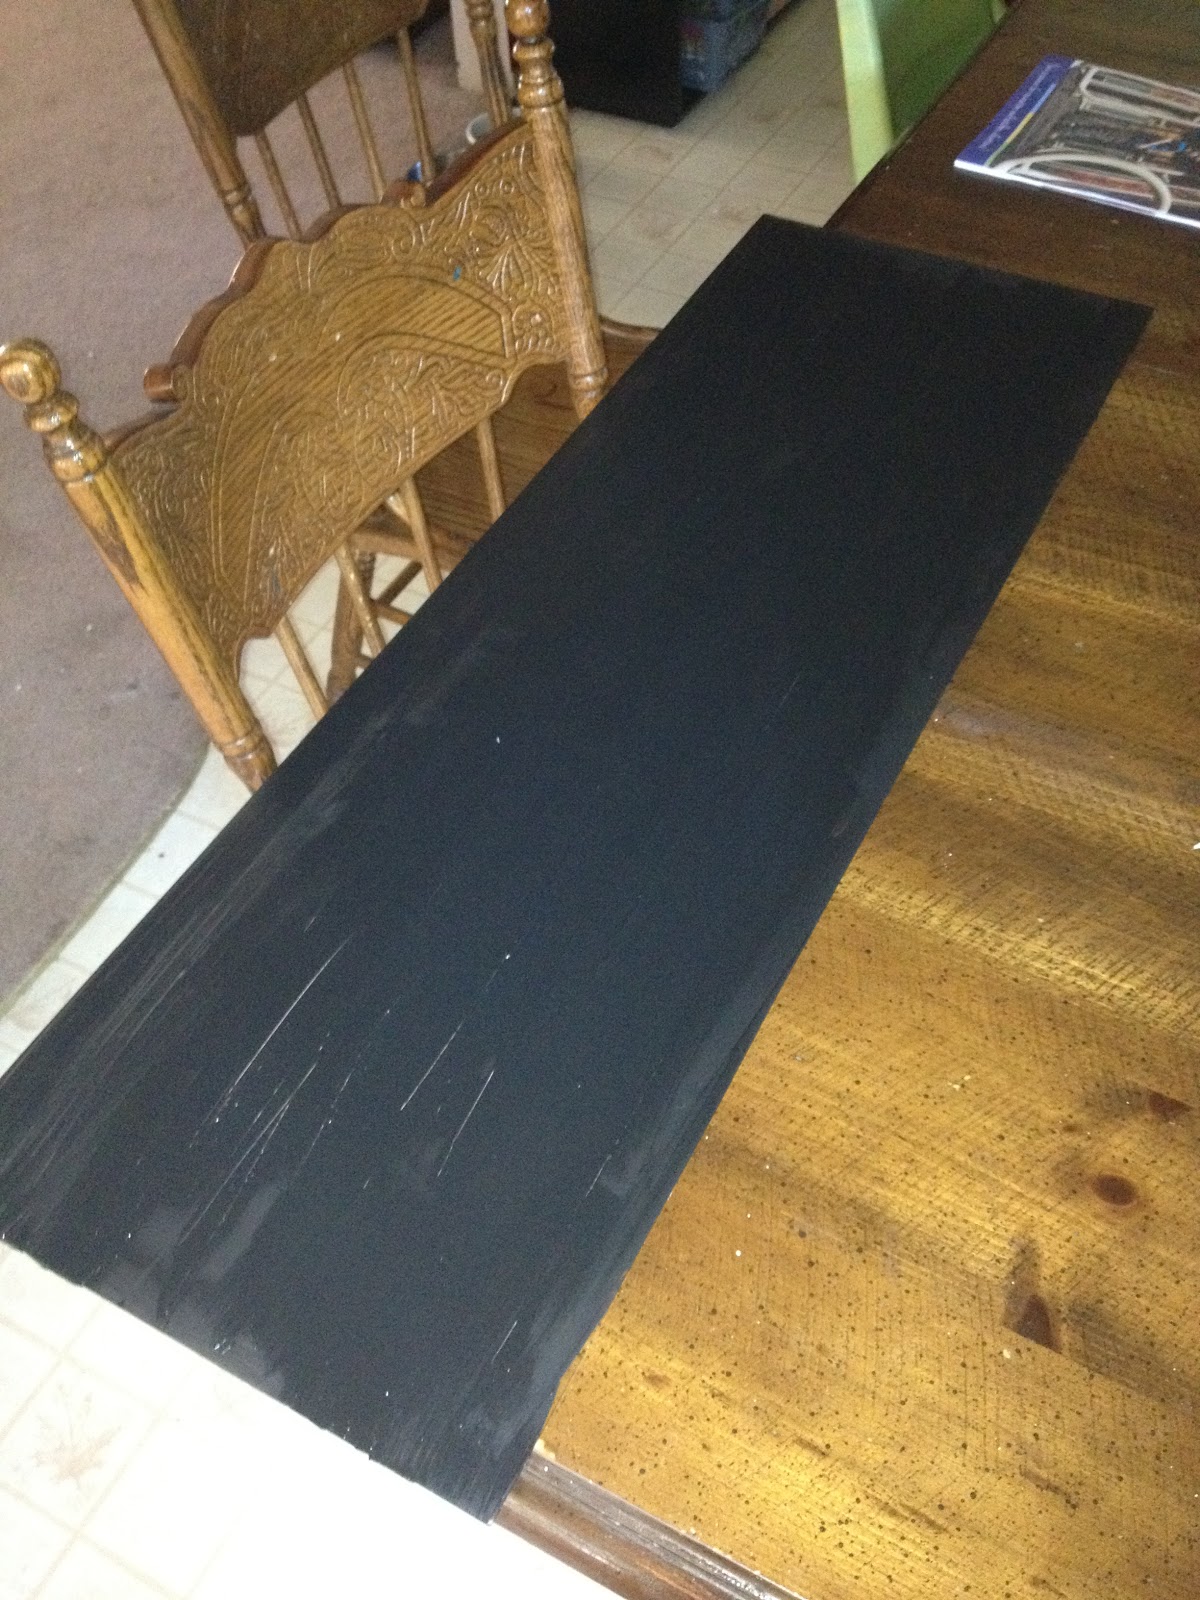
I chose a linear layout for the pictures above/behind the television, and I wanted to flank the left side with my DIY chalkboard (tune in next week for my DIY).  Of course I had to leave a spot for my chi-babies to cuddle, they like to watch everyone and this is a great spot for them to see everything that is going on in the house.  And just because I cannot get enough of this cute lil' face.....


This fireplace will be the death of me I swear!  I love this beautiful statement piece in the middle of our large living room! I love looking at it, the colors in the brick are beautiful, they are not "matchey-matchey" it's perfect. I am so in love, that I'm afraid of it.  I want to whitewash it to tone down the red in the brick, but I'm afraid of ruining it.  I want to change the mantle, again afraid of damaging the brick.  I'm dying to get rid of the ugly brass surround, however that I am NOT afraid to do, and am just waiting for the time to make this baby shine! Stay tuned :)


KIDDIE CORNER!!!


The kid work space didn't really get a make over, so much as a make under.  I love these awesome wires from Ikea, using them to hang up the kids' art is amazing!  Desk and Chairs were also purchased at Ikea.


This is the "kiddie corner" as I like to refer to it.  I needed a space where my kids could play in the living room without taking over the entire space.  Stylistically speaking, I would not have put kids toys in the living room, but alas I do not have a rec room or playroom so this is my option.  


I purchased this amazing KidKraft kitchen, on walmart.com for Hanukkah 2010.  It was "THE BIG GIFT".  The dollhouse is from imaginarium that I purchased at Toysrus.com


This is a vintage (in great shape) little tykes washing machine and dryer.  My mother in law found this for the twins at an estate sale, I am so thrilled that she did! It has been an enormous hit for the kids.

 
So there's my sneak into the front room makeover that I've been working on over the weekend!  What have you done in your home?